| Monitor |
| Monitor |
|
|
|
Since I didn't get the 25" cabinet I wanted I decided to use a rotating monitor setup. This allows vertical games to use most if not all of the usable area of the monitor. Unfortunately it's a major PITA to build. Most of the time I've spent on this project was on the monitor harness. I followed pretty much the exact design as the one located here at The Lilypad. I bought a low end 19" PC monitor ( MAG ) non flat screen. I then removed all of the plastic housing and disconnected the controls on the front of the monitor. I won't go over again how to build the harness as it's covered nicely by The Lilypad, but I will mention the issues I ran into. I had to do every part of the monitor setup at least twice. |
|
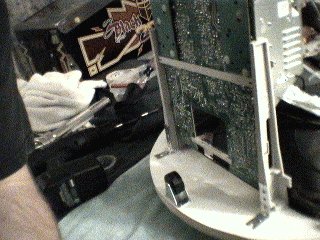
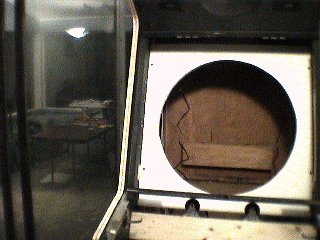
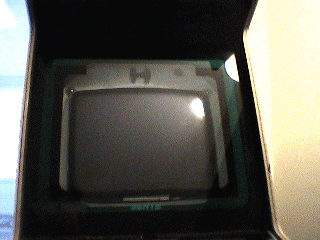
First of all it's tough to cut a perfect circle with a jigsaw. My first one was bad, the second one was better but still not perfect. Flaws will be magnified when rotating the monitor as I've found out. Cutting the hole for the monitor proved to be just as difficult. I tried all kinds of different ways to trace and measure the front of the monitor and the 4 holes for mounting. What I ended up doing was tracing the front on paper and then cutting that out of the paper and then drawing around the inside of the hole onto the particle board wheel. This got me in the general area. I did do a lot of filing and retrying until it finally fit through. The monitor is awkward and fragile so this was scary to do this many times. I tested the monitor before mounting it permanently just in case. |
|
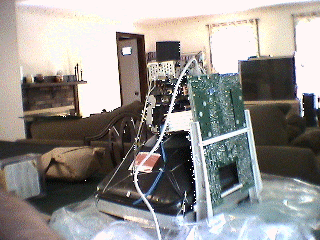
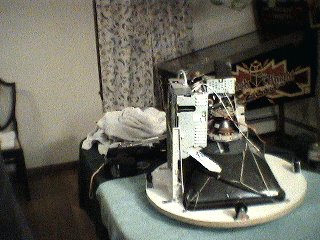
The hardware of the monitor needed to be supported since the plastic housing was now gone. I used the same plumbing metal stripping to create a bracket to hold it in place. As I found out later it didn't work so great ( I've got the cuts and bruises to prove it ). As you can see in the background of the middle picture there's a table saw on my porch and the floor is covered in sawdust. I can't stress enough how much easier the table saw made this project. Measuring and installing this stuff at angles inside of the cramped cabinet was also a pain. |
|
|
|
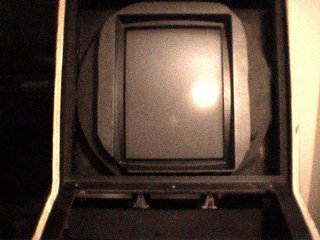
The monitor cord wasn't very long, and the extensions I've found had ghosting problems so I had to limit the monitor to move only 90 degrees total, which is really all it needs. This is the reason for the painted H and V. :) |
|
I used a razor blade and masking tape to cut out the area in the front glass where the monitor would line up with when it was in the vertical position. I put a small kitchen cabinet handle to use for rotating the monitor. I also modified a Happs 19" bezel to put in there also. I then attached two strips of velcro to the monitor glass so I could pull it back to rotate the monitor until I get a motor installed to do the rotating. |
|
A few months after finishing the monitor I started getting flickering when rotating and diagonal lines when powered up. I spent a night tracing it down to a header on the monitor PCB that was slipping off. This must have been due to all the jostling when cutting the hole for it. |

|
I spliced the wiring for the monitor controls ( since I needed to degauss, power on, etc ), put a grommet in the top of the cabinet, and velcro'ed them on the top of the cab though the grommet. I mounted the volume control up here as well. I'll also be putting the rocker switch for the monitor motor next to this stuff someday when I get around to it. |
|
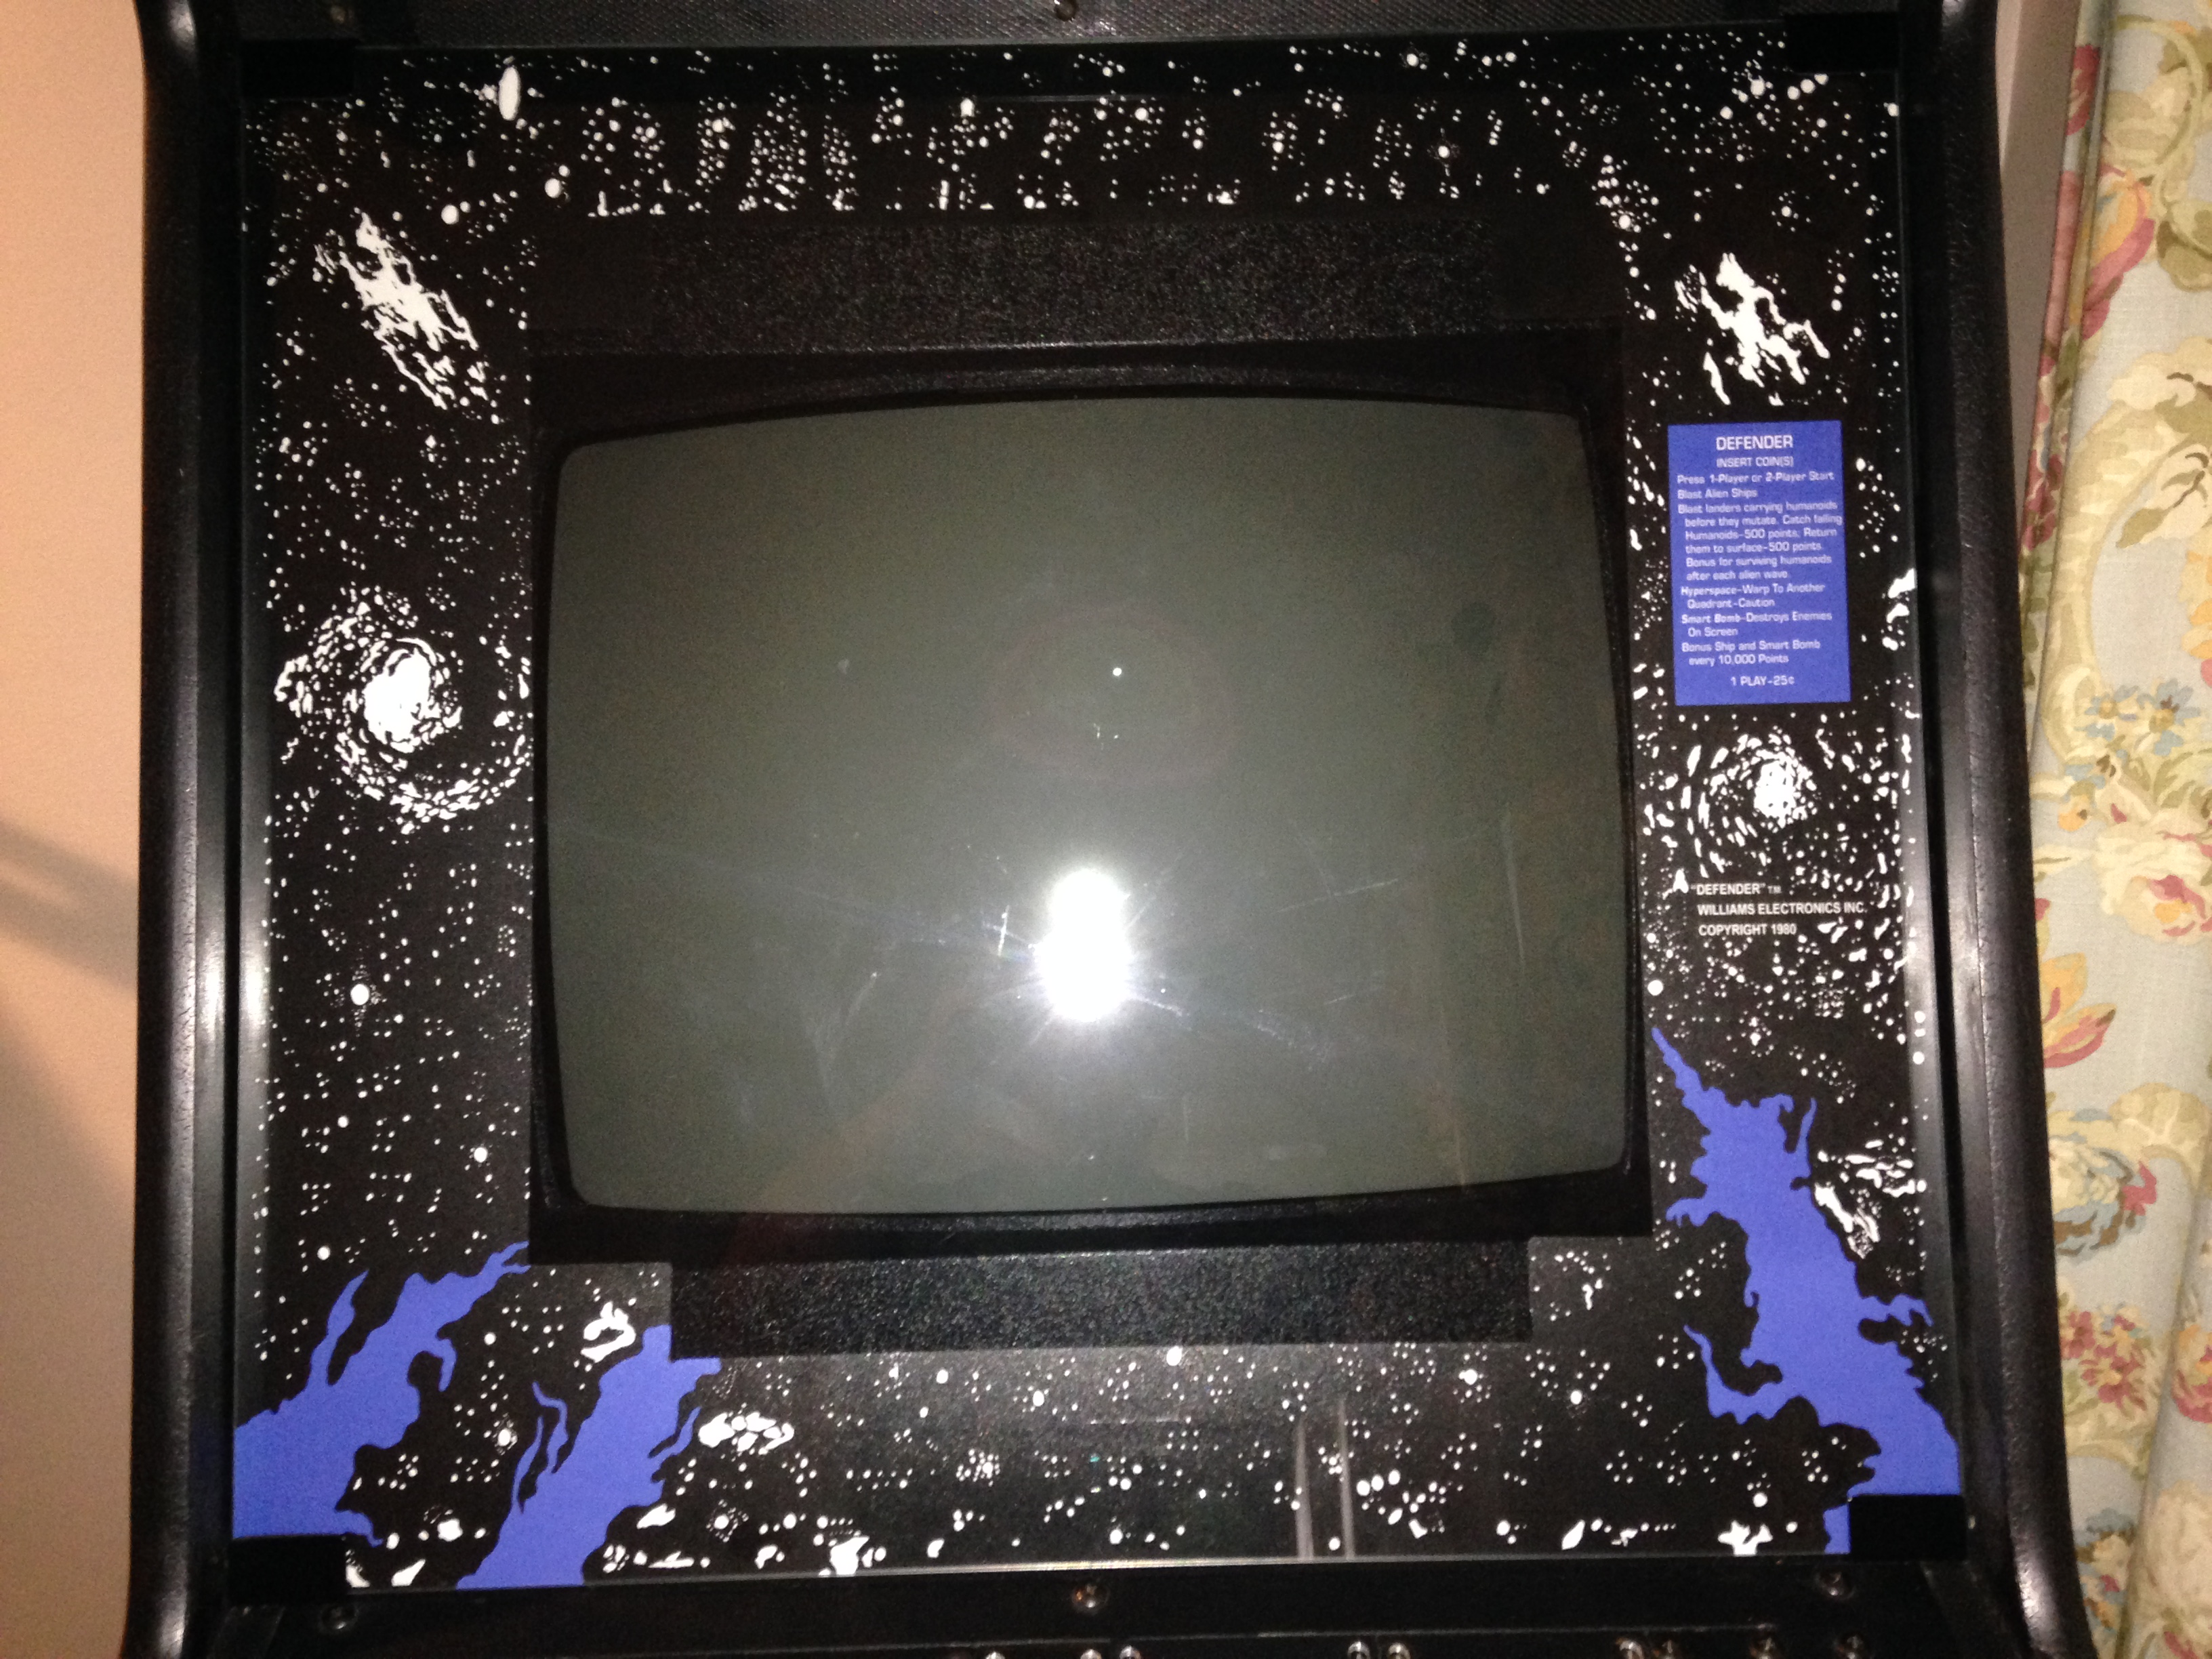
Here is a pic of the current monitor with bezel and glass. The monitor is now a true arcade monitor from Wells Gardner. I'm using the same cut out bezel. The glass is now a piece of tempered clear glass on top of Defender bezel artwork and behind that is a piece of tempered smoked glass. This is held together with small pressure clips. |